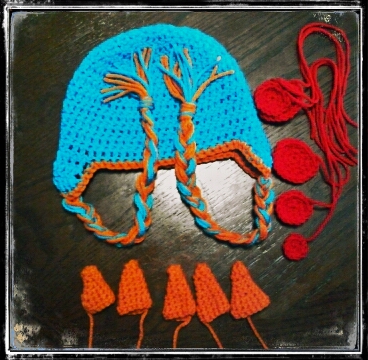
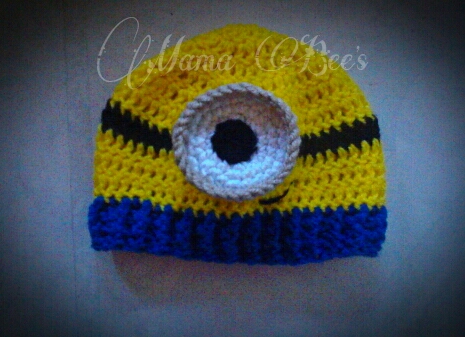
Now I know y'all are waiting anxiously for the next hat in the minion series and after having problems with blogger ALL day yesterday ( and this morning), I am FINALLY able to post the next hat! This hat should fit your 6-12 month old snuggly.
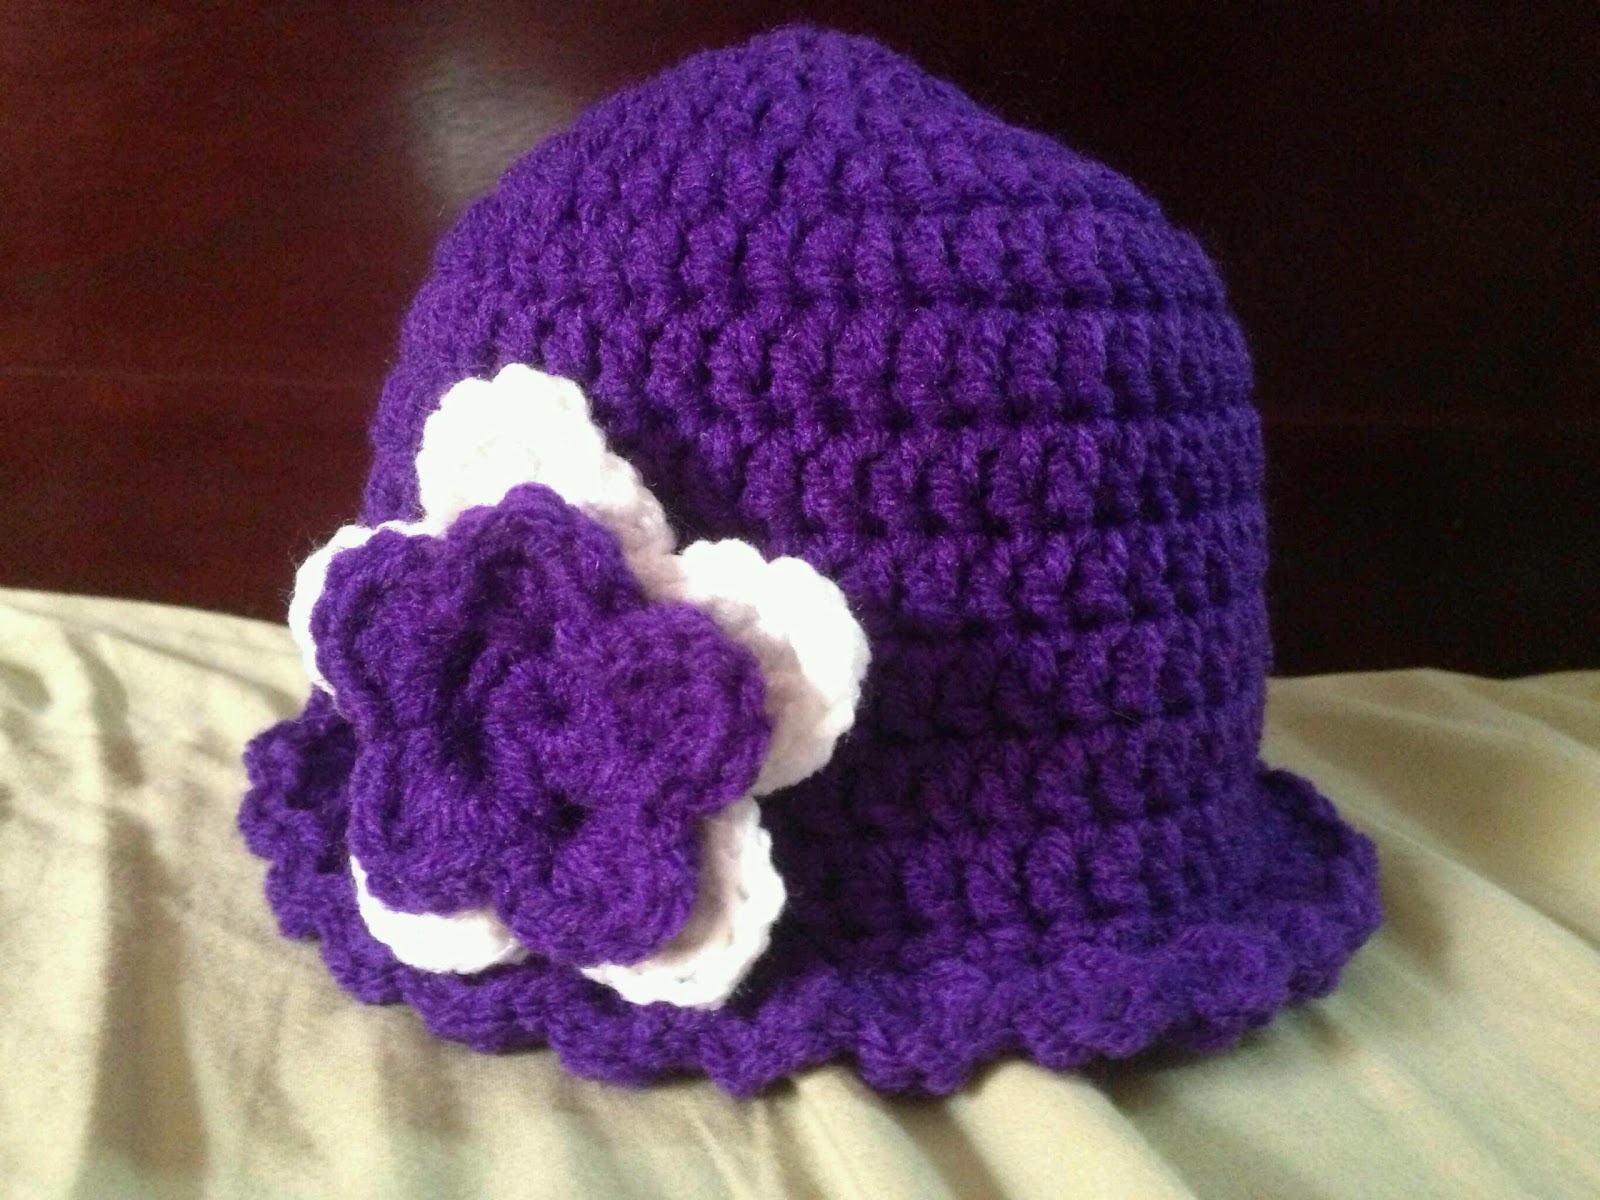
Here it is!
**This pattern is not for sake. You may sell items from this pattern But please leave a link back here!
Materials
Small amounts of Red heart super saver yarn in
Yellow
Royal
Blue
Black
White
Grey
Needle for weaving
H hook
Size 6-12 months
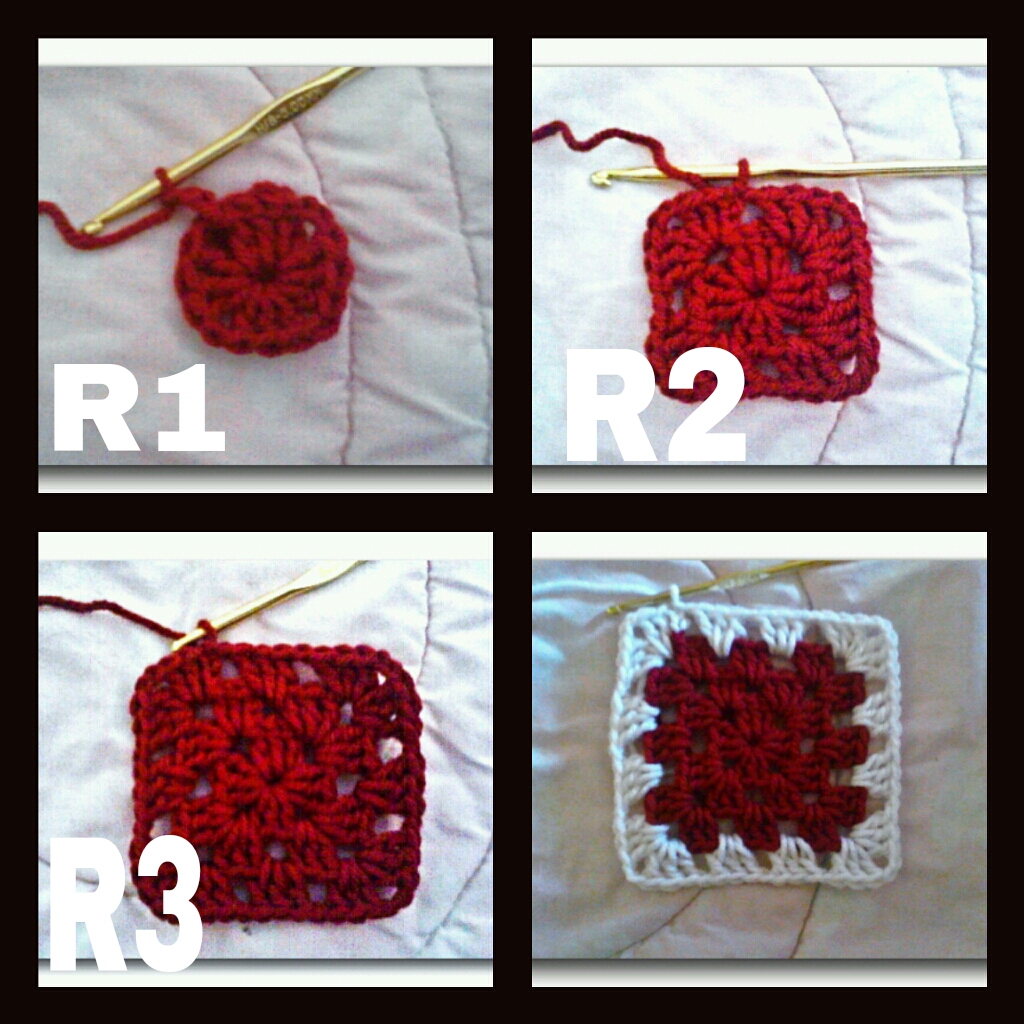
R1:Ch3, 10dc in 2nd ch from hook, join on top of ch3 here and throughout pattern. (10)
R2: ch3, dc in same as join, 2dc in each around, join (20)
R3: ch3, dc in same as join,dc in next, *2 dc in next, dc in next* around, join. (30)
R4: ch3, dc in same as join, dc in next 2 dc ,*2 dc in next, dc in next 2 dc* around, join. (40)
R5: ch3, dc in same as join, dc in next 3 dc, *2dc in next, dc in next 3*around, join. (50)
R6: ch3, dc in the same as join,*2dc in next, dc in next 9*around. (55)
Switch to black
R7: ch3, dc in each around, join
Switch back to yellow
R8-10: ch3, dc in each around, join.
Switch to navy blue
R11: ch3, dc in each around, join. R12-15: ch,* Fpdc in next dc, Bpdc in next* around, join. Fasten off weave in ends.
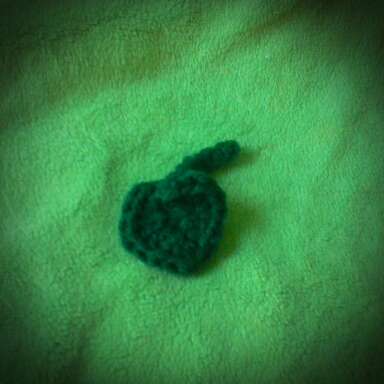
Eye
With white, do not join
R1: Ch2, 6 sc in 1st ch from hook (6)
R2: 2sc in each around (12)
R3: *2sc in next, sc in next *around(18)
R4: *2sc in next, sc in next 2*around. (24)
R5:2sc in next, sc in next 3sc around, fasten off .
Goggle
With grey
Workin in the front loops only of eye you just made
R1: join with slip stitch, sc around, join
R2: ch1, sc around, join, fasten off, weave in ends.
Turn eye around Working in the back loops you left Join with slip stitch, sc around , fasten off and leave long tail for sewing.
With Black
R1:Ch2, 5 sc in 2nd ch from hook R2: 2sc in each , fasten off and sew onto side of eye with 2 grey rows.
Assembly
Sew eye onto middle of goggle then sew the goggle to middle of black row and embroider a smile on, tada!!
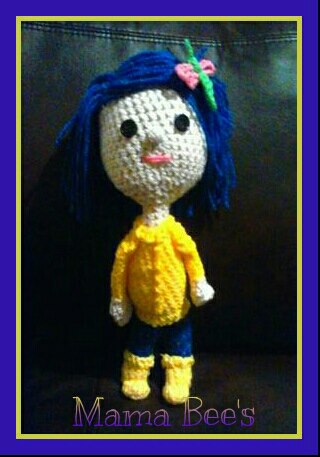
As always, I'd love to see your finished hats so please visit me on my facebook page Mama Bee's Crafty Things and post a pic on my wall or join us in the pattern sharing fun over at The Crochet Menagerie. Be sure to check back for next weeks size child size!! Till next time, ENJOY!<3


 Then there is the